Trending

A shelf that sags, tilts or pulls out of the wall is rarely just a fixing problem. More often, the trouble started with a measurement that was a few millimetres out, a stud that was missed, or a load nobody estimated. The good news is that measuring a wall for shelving is a calm, logical job. Do it properly and the drilling becomes the easy part.
Before the tape measure comes out, decide what the shelf is for. A display shelf for light ornaments has very different needs from a run of shelves for books, tools or kitchen kit. This affects depth, height, bracket spacing and the type of fixing you will use.
Fitted shelves in an alcove may gain support from the side walls, but the back wall often does less than people assume. Floating shelves look minimal because the bracket is hidden inside the shelf or fixed behind it, so every wall fixing is doing more work. Write down what will sit on the shelf, add the weight of the shelf itself, and be honest about whether it is a light or heavy load. If it is heavy, plan to fix into studs or masonry rather than plasterboard alone.
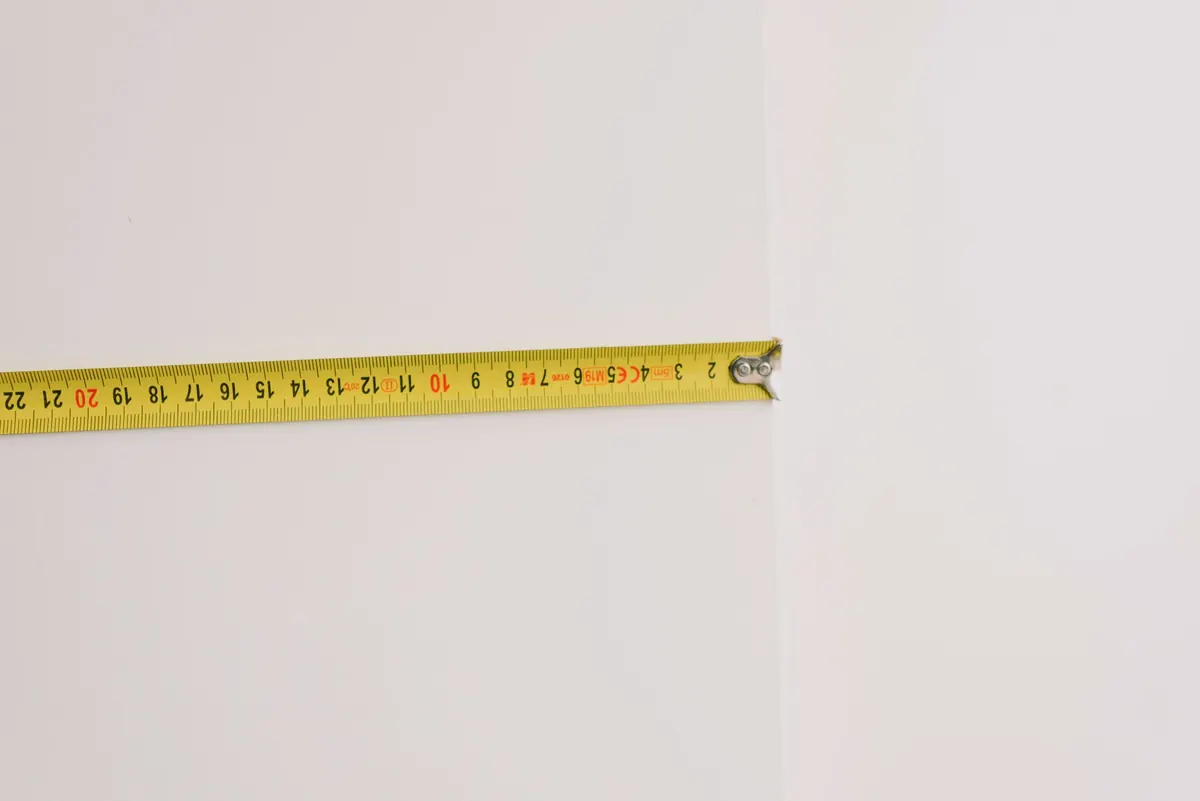
Use a steel tape measure, not a fabric one. Measure the width at the top, middle and bottom of the intended run. In older UK homes, those three numbers often differ. For a fitted shelf, use the smallest width, because that is the space you actually have.
Measure height at both ends and in the centre. If the floor or ceiling is uneven, choose a datum line — a horizontal line from which all shelf heights are set — using a spirit level or laser level. Mark it lightly in pencil. For multiple shelves, measure up from the same datum line each time so errors do not stack.
Mark anything the shelf might clash with: sockets, switches, radiators, thermostats, door frames, curtain poles, extractor fans and tiles. A shelf that covers a socket is annoying. One that blocks a radiator can affect heat and look wrong. In alcoves, hold a straight edge against the back wall to check for bowing. A gap means the shelf may need scribing or a filler piece. Take photos with the tape visible so you can check details later.
UK homes have several wall types. Modern internal walls are often plasterboard on timber studs. Older walls may be solid brick, stone, or lath and plaster. Some plasterboard walls are dot-and-dab over masonry, which can fool a stud finder.
Use a cable and pipe detector before you mark anything. It can help you avoid live cables and water pipes, but it is not a guarantee. If you are unsure what is behind the plaster, stop and ask a qualified electrician or plumber. Find studs with a detector, a strong magnet that sticks to plasterboard screws, or by tapping for a solid sound. Mark both edges of each stud, then mark the centre. Studs are often at 400mm or 600mm centres, but never assume.
If a stud is not where you need it, you have options. You can fix into masonry, add a horizontal batten fixed across several studs, or use plasterboard fixings for very light loads only. For books, tools or kitchen equipment, hollow-wall fixings alone are not a sensible choice. If you rent, check your tenancy agreement before drilling. If the wall is shared or you are unsure what is inside it, ask the landlord or a qualified tradesperson.
Clearance is about more than fitting the shelf on the wall. It is about what happens in front of it.
A useful trick is to cut a piece of cardboard to the shelf depth and hold it against the wall. It shows the true projection far better than a number on paper. Do this at each end and in the middle.
Now match the shelf to the wall and the load. Every shelf has a span — the distance between supports. Long unsupported spans sag, especially under books or jars. Break a long run into shorter bays or add uprights and centre supports.
Choose fixings that match the wall: masonry plugs and screws for brick, block or stone; heavy-duty timber screws for studs; specialist plasterboard fixings only for light loads and only when installed exactly as the manufacturer instructs. For floating shelves, the hidden bracket and its wall fixings carry everything. Follow the shelf manufacturer’s load limit, and do not assume a floating shelf can hold a full row of hardbacks just because it looks solid.
Plan bracket positions so they land on studs or masonry. If they do not, fix a batten across the wall first, then attach the brackets to the batten. This spreads the load and gives you more freedom. Add up the approximate weight of the shelf and its contents, then choose fixings with a safe working load comfortably above that figure. If the total feels high, reduce the load, use more supports, or get advice. Check for pipes and cables again before drilling.
Once you have measurements, stud positions, clearances and fixings planned, mark the wall. Use a spirit level to draw a faint horizontal line for the shelf top or bracket centre. Check it at both ends and in the middle.
Mark bracket centres clearly. Use a bradawl or pencil, not a deep hole. Write measurements on masking tape on the wall if it helps. Before drilling, run the detector over the marks one last time. Hold the shelf or bracket in place and stand back. Does it look right? Does it clear the door, socket or radiator? Does it sit at a comfortable height?
If the wall is bowed, a fitted shelf may need scribing to the wall. That is a job for a carpenter or a confident DIYer with a plane or jigsaw. If the shelf is going into a rented home, get written permission if your agreement requires it.
Measuring a wall for shelving is not about being perfect on the first try. It is about noticing the things that will matter later: the smallest width, the stud you can use, the door that needs to swing, the weight of a row of books. Take your time with a pencil, tape and detector. If anything seems unclear — especially cables, pipes or a heavy load — ask a qualified tradesperson. A shelf that is measured well will look level, feel solid and stay useful for years.
Photo: Ksenia Chernaya / Pexels